|
|
|
|
Heart Shaped Mouse Continued
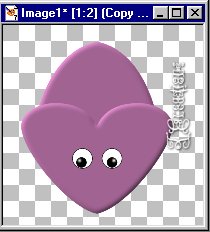
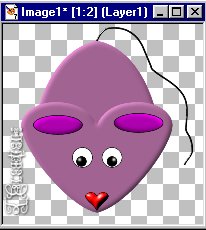
Now lets finish our little mouse! Step 19. Open your layer pallet and turn off layers 1,2, & 3. Your eye layers should be the only ones open. Go to Layers> Merge Visible. Turn your layers back on.
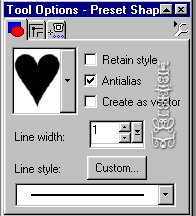
Step 20. Go to Layer> New Raster Layer. Name it "Nose". Change your foreground to black and your background to #DA2012. Step 21. Select your preset shapes tool and use these settings.
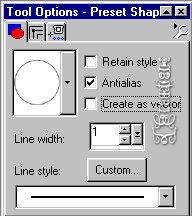
Draw a heart for your nose. Move into place. Step 22. Go to Effects> 3-D Effect> Inner Bevel, and apply the Round preset like we did with the eyes. Step 23. Go to Layers> new raster layer and name it "ear". Change your foreground to black and your background to #FF00FF. Step 24. Select your preset shapes tool and use these settings.
Draw your ear and move into place.
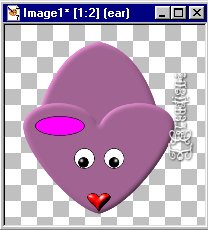
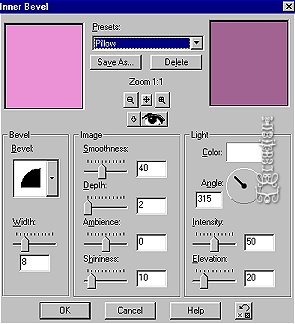
Step 25. Go to Effects> 3-D Effects> Inner Bevel and apply the pillow preset.
Step 26. Open your layer pallet and duplicate the ear layer. Go to Image> Mirror. Move into place if you need be to match the other side. Step 27. Go to Layers> Merge Visible. Step 28. Go to layer> New Raster Layer. Select your draw tool with these settings. Type: freehand> Width: 3> Solid line, Antialias checked. Set your foreground to black and your background to NULL. Step 29. Draw your tail. Go to Effects> Inner Bevel and apply using the Round preset. Layers> Merge Visible. Now you can tube your mouse. We're Done!
I hope you enjoyed this tutorial. If you have any questions, feel free to E-Mail me anytime.
I would like to thank Patti of Moon's Designs, Randie, Dreamlady, and Tish from Magic for testing my tutorials and for their complete honesty and wonderful encouragment. Without them I wouldn't have had the courage to publish my own tutorials. Thank you! These tutorials and their contents are property of TCreations and may not be placed anywhere without my permission. ©TCreations 2001 All Rights Reserved.
|