|
|
|
|
Inner Beauty Continued
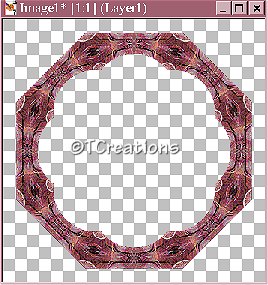
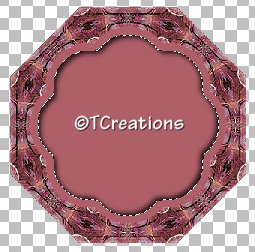
Now let's finish our frame. This is what it should look like so far.
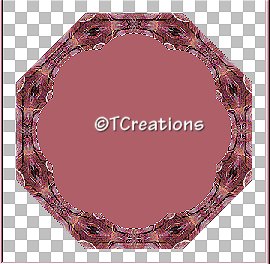
Step 9. Grab your magic wand and select the middle of your frame. Go to selections> modify> expand by 2. Flood fill with a color from your image you are using for the center.
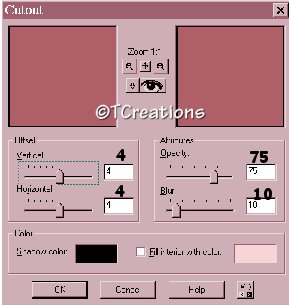
Step 10. Now go to selections> modify> contract by 10, Then go to selections> float. Step 11. Go to effects> cutout and apply using these settings.
Apply the same cutout again except this time change the horizontal & vertical to minus 4. Deselect.
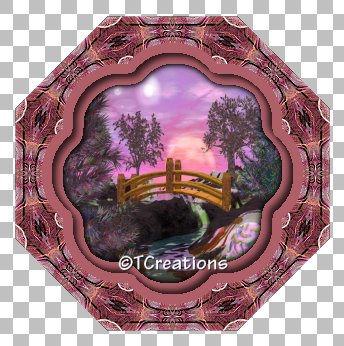
Step 12. With your magic wand, select the middle of your image again. Open the picture you are using for the center. On that image, go to edit> copy. Activate your frame image, edit> paste INTO selection.
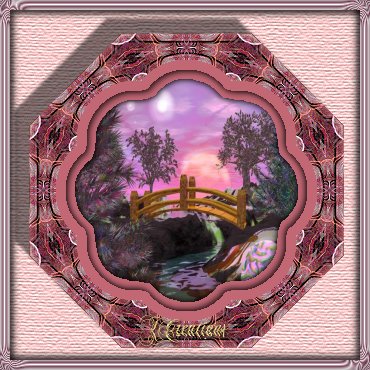
Step 13. Go to selections> float. Apply the same cutout as before except change the horizontal & vertical to 1, and change the opacity to 100. Apply again. This time changing to minus 1. Deselect. You're done! I hope you have enjoyed this tutorial. If you have any questions, feel free to E-mail me anytime.
I would like to thank my testers, Patti, Randie, Dreamlady, Tish, Jenn & Barbara. I couldn't do this without them! Thank you!! These tutorials and their contents are the property of TCreations, and may not be placed anywhere without my express written permission! ©TCreations 2002 All Rights Reserved The backgrounds on these pages were created by me exclusively for TCreations and may not be used without my permission. |