|
|
|
|
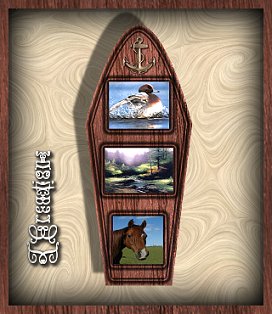
Scenic Canoe
This Tutorial was created January 8th, 2002 ©TCreations Property of TCreations
This is my own creation. Anything similar is purely coincidental. Please do not place any part of this tutorial or it's contents any other place without express written permission from me. Thank you. This tutorial was written in PSP version 7.04 and assumes you have a working knowledge of PSP at a intermediate level.
Once again, I was browsing through a magazine and saw this beautiful boat with pictures in the center. So I tried to re-create it in PSP. This is what I came up with. Tools needed for this tutorial is as follows.
A
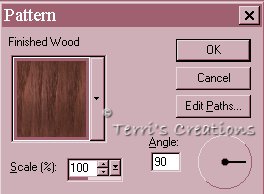
30 day trial version of Paint Shop Pro you can get here This zip file containing the Anchor tube. I used the wood pattern in PSP, but My friend Patao has alot of wonderful wood tile fills in different colors at her site for you to choose from. You can find them HERE. If anyone knows where this tube came from, please let me know so I can give the proper credit! Thank you. Three images of choice. Lets get started! Step 1. Open a new image 400x600, transparent. Set your foreground and background to Patterns and choose "finished wood" in your patterns folder that came with PSP using these settings.
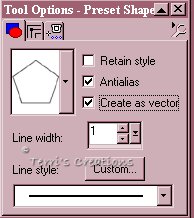
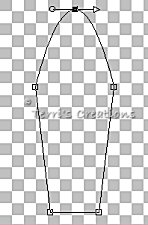
Step 2. Select your preset shapes tool with these settings.
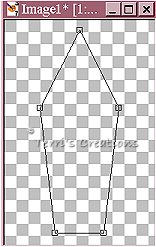
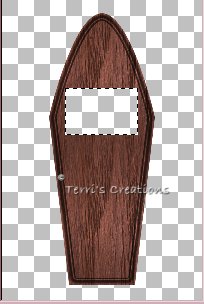
Draw a long pentagon on your canvas. It will have the shape of a boat/canoe. Step 3. Select your object selector tool, then right click and select "node edit".
Click on the top node. Right click and select "node type". Choose "Asymmetric". That's it! It will automatically round the top of your canoe. And you thought I was going to pull the dreaded vector thing on you! *Grin*
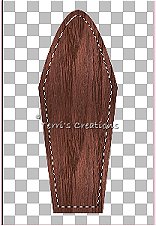
Step 4. Go to Layer> Convert to raster layer. Step 5. Selections> Select all. Selections> Float. Step 6. Selections> Modify Contract by 15.
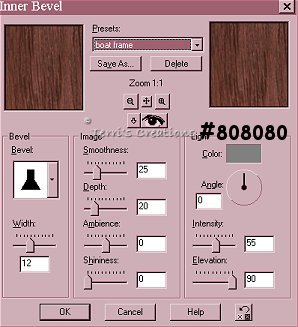
Step 7. Selections> Invert Step 8. Go to Effects> 3-D Effects> Inner Bevel and apply using these settings. Deselect.
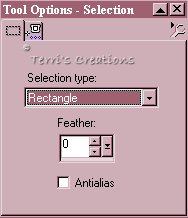
Step 9. Choose your selections tool using these settings.
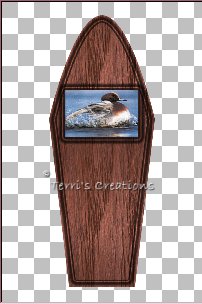
Make a square inside the canoe. Hit your delete button on your keyboard. With it still selected, go to Selections> Invert. Apply the same Inner Bevel as before.
Step 10. Go to Selections> Invert again. Open your first image. Edit> Copy. Step 11. Make canoe image the active image. Edit> Paste into selection.
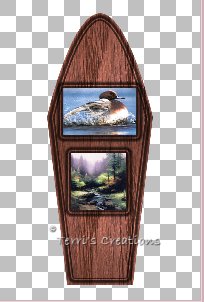
Step 12. Select your selection tool. Make a second square inside your canoe. Selections> Invert. Apply the same inner bevel as we've been using. Selections> Invert. Step 13. Open your second image. Edit> Copy. Make the canoe the active image. Edit> Paste into selection.
|