|
|
|
|
Scenic Canoe Continued
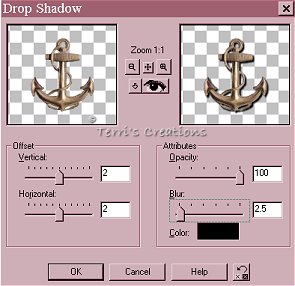
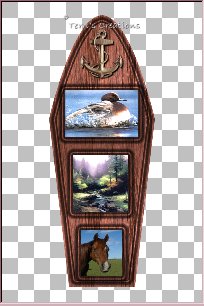
Step 14. Select your selection tool, same settings. Make your third square inside your canoe. Hit the delete button on your keyboard. Step 15. Go to selections> Invert. Apply the same inner bevel as we have been using. Go to Selections> Invert again. Step 16. Open your third image. Edit> Copy. Click on canoe image to make it active. Edit> Paste into selection. Deselect. Step 17. Go to layers> new raster layer. Select your tube icon, and find your anchor tube. Place it at the top of your canoe. I scaled mine at 37%. Step 18. Go to Effects> 3-D Effects> Drop shadow and apply using these settings.
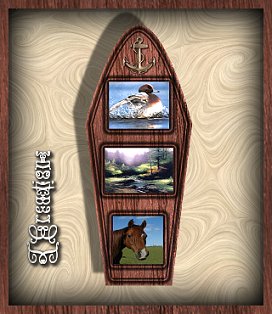
Step 19. Merge layers visible. You're done! You can either tube your canoe or add a background and frame like I did. I hope you like my tutorial. If you have any questions, please feel free to E-mail me anytime.
I would like to thank my wonderful testers. Patti of Moon's Designs, Randie, Dreamlady, and Tish from Magic. They keep me on my toes and I consider them good friends.
Thank you! These tutorials and their contents are the property of TCreations and may not be placed anywhere without my permission. ©TCreations 2002 All rights reserved. These backgrounds were created exclusively for TCreations, and may not be used without permission. |