|
|
|
|
Simple Swirl Frame
Created December 8th, 2001 This tutorial is copyrighted by law to TCreations ©TCreations 2001 This is my own creation. Anything similar is purely coincidental. Please do not copy any part of this tutorial or place it anywhere without express written permission from me. Property of TCreations
I had such a wonderful response to my first tutorial, Snowflake Ornament, you all who I consider my friends, gave me the confidence to try another. I hope you like it as well. Let's get started! The tools needed for this tutorial is as follows.
A 30 day trial
version of Paint Shop Pro Fun House Filter you can get Here. The particular filter you will need for this tutorial is in Fun House Filter 1. Andrews Filter Collection 57 you can get Here. These plugins need to be converted to Pico (Plugin Commander). You can get the information you need at the same site as the plugin. Another very useful place to check out is Renee's Pico Tips located Here. A graphic of choice. The graphic you decide to use, should be fairly close to square. Otherwise is might look distorted.
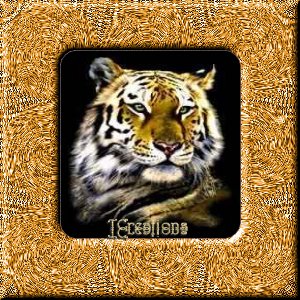
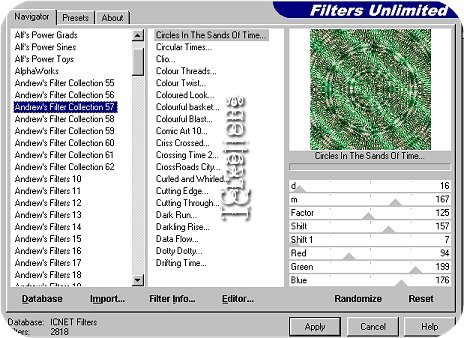
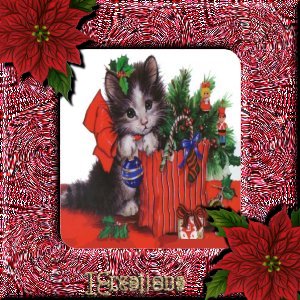
This is the image I used. If you would like to use this image, right click and save to your own hard drive. Step 1: Open a new image 300x300 transparent, 16 million colors. Flood fill with a color of choice. It really doesn't matter the color you use because later in the tutorial, you're given the option to change it. Step 2: Go to effects> Plugins. Find Andrews Filter Collection 57 "circles in the sands of time" and apply using these settings. d> 16, m> 167, Factor> 125, Shift> 157, Shift 1> 7, Red> 94, Green> 199, Blue> 176. I have my Andrews filters in Filters Unlimited, If you do not use FU, your screen will look different.
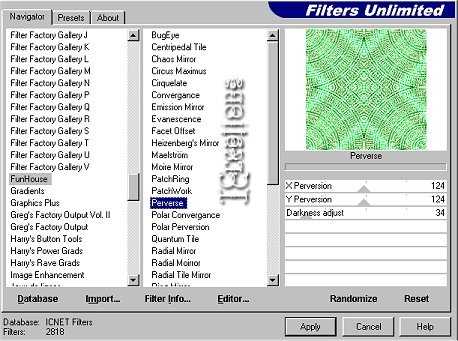
Step 3: Sharpen your image by going to Effects> sharpen> sharpen. Step 4: Go to Effects> filters/plugins and find your Fun House filter, "Perverse" and apply using the default settings. XPerversion> 124, YPerversion> 124, Darkness Adjust> 34.
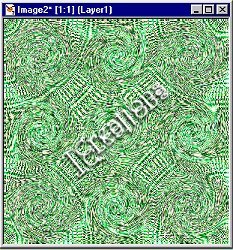
Step 5: Sharpen your image by going to Effects> Sharpen> Sharpen. Step 6: Now go to Effects> geometric effects> curly Q and apply these settings: Number of columns> 3, Number of rows> 3, Size% 100, Strength> 15, Symmetric Checked, Clockwise Checked. Here is what it should look like.
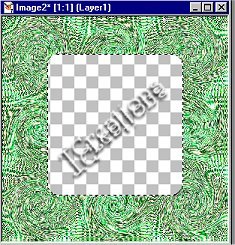
Step 7: Using your selection tool, Rounded rectangle, feather, set at 0, Antialias, checked, start at these coordinates ; 60-50. Pull down until you have reached the coordinates 240-240. Release. You should have a square in the middle of your image with marching ants. Step 8: Hit your delete button on your keyboard. This removes the middle part of your image you had selected.
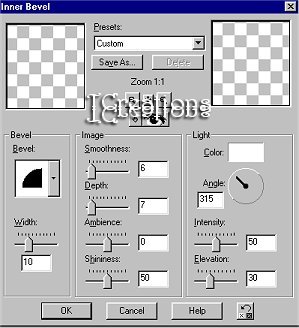
Step 9: Now go to Selections> Invert. Your "Frame" will be selected. Step 10: Go to Effects> 3-D Effects> inner bevel and apply these settings:
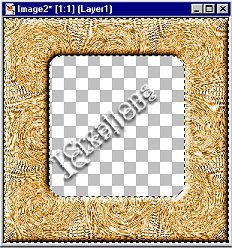
Step 11: Here is where I said you could change the color of your frame. Go to Color> Colorize and play around till you find the color you like. I chose a gold/orange color to go with the image I used.
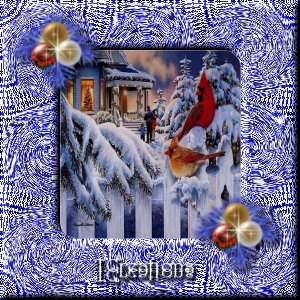
Step 12: Go to Selections> Invert. Now just the middle part of your frame should be selected. Step 13: Open the image you plan on using and making it the "active" image, go to Edit> Copy. Go to your frame, and making it the "active" image, go to Edit> Paste into selection. Deselect. You're done! You can save your frame in your frames folder in PSP. Make sure the extension is .pfr. Here are a couple I did . You can dress up your frame by adding a tube or two like I did. It is completely up to you.
I hope you have enjoyed this tutorial. If you have any questions, please feel free to E-Mail me. Please do not copy this tutorial or any of its contents to any other place without written permission from me. ©TCreations 2001
|