|
|
|
|
Teardrop Inset Globe Continued
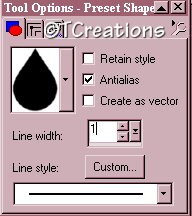
Now let's finish our globe. Step 8. Change your foreground to a gold pattern. Change background to a complementary color. Select your preset shapes tool with these settings.
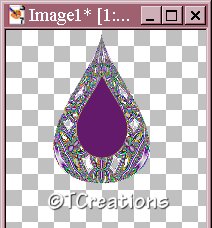
Step 9. Make a teardrop inside your globe. Center it with your mover tool.
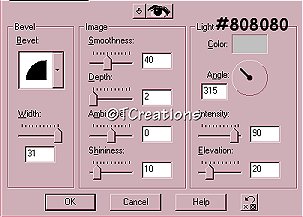
Step 10. Go to effects> 3-D effects> inner bevel and apply using these settings.
Apply the inner bevel one more time using the same settings. Step 11. Go to selections> select all, Then selections> float. Now go to selections> modify contract by 10.
Step 12. Go to layer> new raster layer. Effects> cutout using these settings. Horizontal and vertical set at 2. Opacity - 100, Blur - 8. apply. Deselect. Step 13. Merge layers visible. Add a new layer. Select a tube of choice to place in the center. Add a slight drop shadow. Step 14. Add a new layer. Select your text tool. Find your Dizz Dividers font. Make sure your settings are like this, and type in a small b. Make sure your fill is set to white. Click okay.
Step 15. Move your base into place. Keep selected. You can use your favorite blade pro preset, or Unled Textures, or a favorite pattern for the color of your base. Step 16. Go to effects> 3-D effect> inner bevel and apply the round preset. Merge your layers visible. You're done! You can save your globe as a transparent gif, tube, or add a background. Here is another one I did. I also found that if you wanted a different color globe, you can achieve that by playing with the settings in Filter Factory K magic.
I hope you have enjoyed this tutorial. If you have any questions feel free to e-mail me anytime.
These tutorials and their contents are the property of TCreations and may not be placed anywhere without my permission. ©TCreations 2002 Property of TCreations. I would like to thank my testers, and friends Patti, Randie, Dreamlady & Tish for their complete honesty and support. Thank you!
Thank you Amber! I love it!
|