|
|
|
|
Memorial Flag Case
This tutorial was created May 16, 2002 ©TCreations Property of TCreations
This creation is my own. Anything similar is purely coincidental. Please do not copy any part of this tutorial or place it anywhere without express written permission from me. You may link to this tutorial ONLY. Do not sent it through e-mail! If you would like to use any of my tutorials for group settings or group lessons, please E-Mail me for my conditions. This tutorial was written using JASC PSP version 7.04 and assumes you have a working knowledge of the program at an intermediate level. *Special Dedication* This tutorial is dedicated to all who have served in past and present wars. Thank you for your bravery. May God Bless you always! Let's Get Started! Tools needed for this tutorial are as follows.
JASC PSP
version 7. Download a 30 day trial version or purchase here. My triangle globe you can find HERE. A wood fill of choice. If you need wood fills, here is a wonderful place to grab some. Look towards the bottom under "Wood Fills".
This
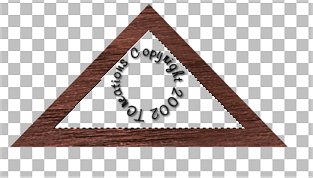
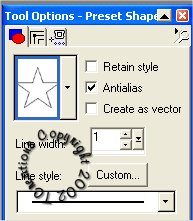
Gold Pattern. Step 1. Open a new image 500x350, transparent. I like to have extra space to work. You can resize it when we are finished. Add a new layer. Open you wood pattern in PSP. Set your background to pattern and locate your wood. It should be at the top. Make sure your foreground is set to NULL. Step 2. Select your preset shapes tool, and set it to triangle. Draw a triangle on your canvas. With your magic wand, click anywhere on your canvas to select. Go to selections> invert, then to selections> modify> contract and type in the number 25. Now hit the delete key on your keyboard.
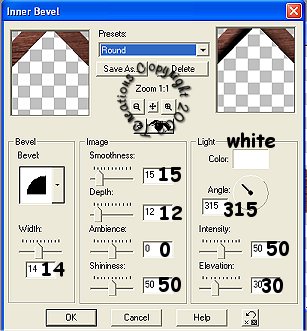
Step 3. Go to selections> invert and apply the "round" inner bevel. Deselect.
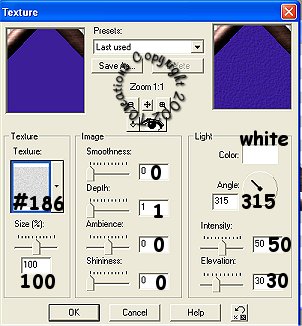
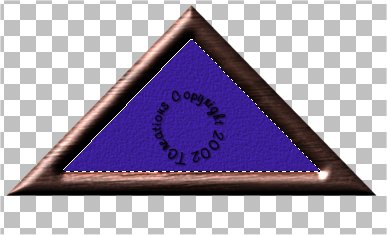
Apply the same inner bevel except this time change the intensity to 30. Step 4. With your magic wand, select the middle of your triangle. Change your foreground to #3B1E98. Go to selections> modify> expand and type in the number 1. With your paint bucket, flood fill your selection. Step 5. Now go to effects> texture effects and apply #186. It might be different in your folder. If you don't have it, use a light texture with mild bumps. *smile*. Deselect.
This is what you should have now.
Step 6. Add a layer and name it "star". Change your foreground and background to white. Using your preset shapes tool, set it to "star 2". At the top of your triangle, draw a star. Don't make it to big, we will need 4. Use your mover tool to move it into place at the top.
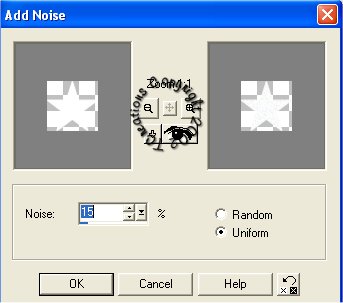
Step 7. With your magic wand, select your star. Go to selections> modify> contract and type in 1. Go to effects> noise> add and use these settings.
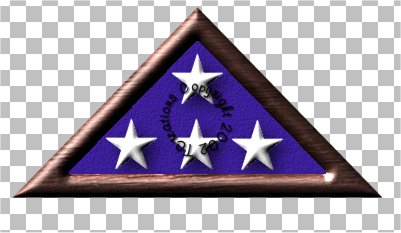
Step 8. Now use the same ROUND inner bevel as before, except change the intensity to 53 and the depth to 5. Keep selected. Go to effects> drop shadow and apply using these settings. Horizontal and Vertical set to 6, Opacity set to 68, and the Blur set to 19.5. Deselect. Step 9. On your star layer, go to edit> copy, then edit> paste as new layer. Do this two more times until you have 4 stars total. Move them into position, one at the top, three at the bottom. Like so.
Step 10. Turn off layer 1, then merge visible. Open your triangle globe. With your magic wand, click on the canvas of your original image (the one with the stars) *wink*. Go to selections> invert then to selections> modify> contract and type in the number 25. Now go to selections> modify> expand and type in 1. Activate your globe. Edit> Copy. Now activate your flag case, edit> paste INTO selection. Deselect.
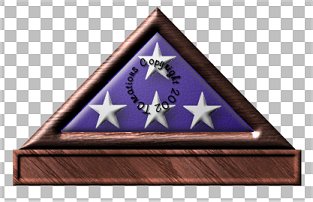
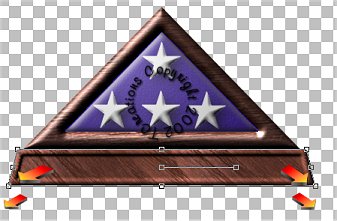
Step 11. Add a new layer, name it "Base". With your selection tool, set to rectangle, draw your base on your canvas underneath your triangle. Make sure you make it a little longer than the bottom of your triangle. Set your foreground to your wood pattern. Flood fill your selection. Step 12. Go to effects> inner bevel and apply the "Frame" inner bevel. (it comes with PSP) this is what you should have now.
Step 13. Using your deformation tool, pull each of the bottom ends out slightly while holding down your shift key. Apply the deformation. Sharpen your image. With your mover tool, move your base in place under your triangle.
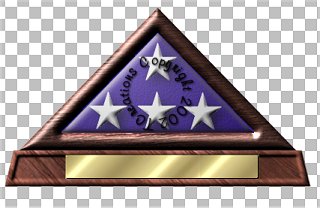
Step 14. Add a new layer. Open your gold pattern in PSP. Set your foreground to pattern, and locate your gold. It should be at the top. Scale 100% and angle 0. With your selection tool, draw your name plate inside your base between the inner bevel lines. Go to effects> inner bevel, and apply the "soft edge" preset. Deselect.
Step 15. Now you can add a name or date to your name plate. You're done! I hope you have enjoyed this tutorial. If you have any questions, feel free to E-mail me anytime.
These tutorials and their contents are property of TCreations and are copyrighted by law. Do not place any part of these tutorials anywhere without my permission. You may link to them ONLY. Do not remove any of the graphics, zip files or HTML within these pages to reproduce these tutorials, without my express written permission. DO NOT send any portion of this tutorial through E-mail. The Image you create from this tutorial is yours to do with what you want. If you would like to use any of my tutorials for group settings or group lessons, please E-Mail me for my conditions. ©TCreations 2001 All Rights Reserved. The backgrounds on this site were created by me exclusively for TCreations and may not be used without my permission. Property of TCreations
|