|
|
|
|
Floating Image In A Frame. Continued.
Okay, Now let's finish our floating Image In A Frame! Step 8. Apply the same inner bevel as before. Move this layer below the merged layer. Layers> arrange> send to bottom. Deselect. Merge layers visible.
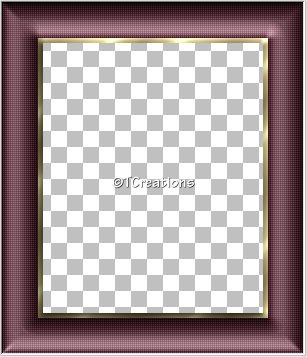
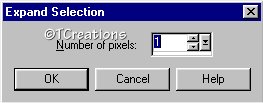
Step 9. With your magic wand, select the middle of your frame. Go to Selections> modify> expand by 1.
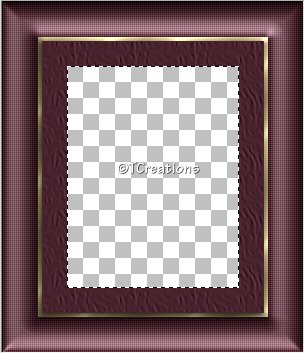
Step 10. With your flood fill bucket, flood fill with a slightly darker shade of the same color you used. Step 11. Go to effects> texture effects, and apply using these settings.
Step 12. Go to selections> modify> contract by 25. Now Hit the delete button on your keyboard.
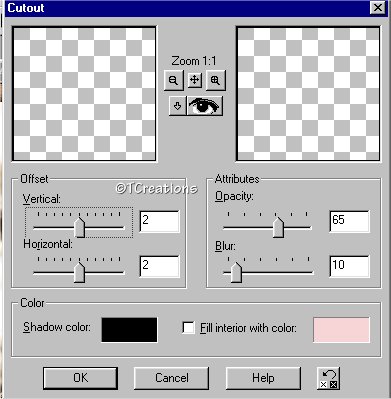
Step 13. Open up the image you are using to fill your frame. On your image, Edit> copy. Now activate your frame, Edit> paste into selection. Step 14. While still selected, add a new layer. Go to selections> invert. Step 15. Now we are going to make it appear that the image is floating in the middle. Go to Effects> 3-D Effects> cutout, and apply using these settings.
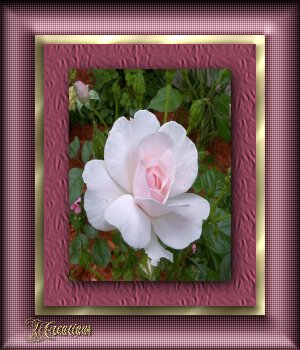
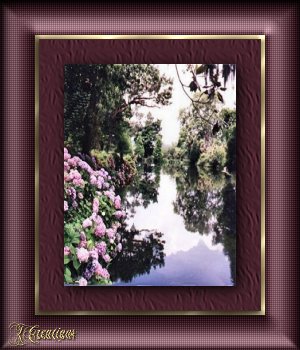
Apply the same cutout again, except this time change your Vertical and Horizontal to -2. Deselect. You're done!! Here is another I created. The image I used came courtesy of Patao. Please click on the graphic to try a wonderful frame she collaborated on with Charles called "Image In A Image Frame". I hope you have enjoyed this tutorial. If you have any questions, feel free to E-mail me anytime.
I would like to thank my wonderful testers, Patti, Randie, Dreamlady, Barbara & Jenn. I admire your honesty and advice! Thank you! These tutorials and their contents are property of TCreations and may not be placed anywhere without my permission. ©TCreations 2001 All Rights Reserved. The backgrounds on this site were created by me exclusively for TCreations and may not be used without my permission. Property of TCreations |